Final Walkthrough Before Closing: What It Is and Why It Matters
The offer is firm.
The financing is in place.
Closing day is around the corner.
And then there’s one last step — quiet, practical, and incredibly important — the final walkthrough of the home.
It’s not dramatic.
It’s not complicated.
But it’s the moment where everything gets confirmed.
This walkthrough is about making sure the home you’re about to take possession of is the same one you agreed to buy.
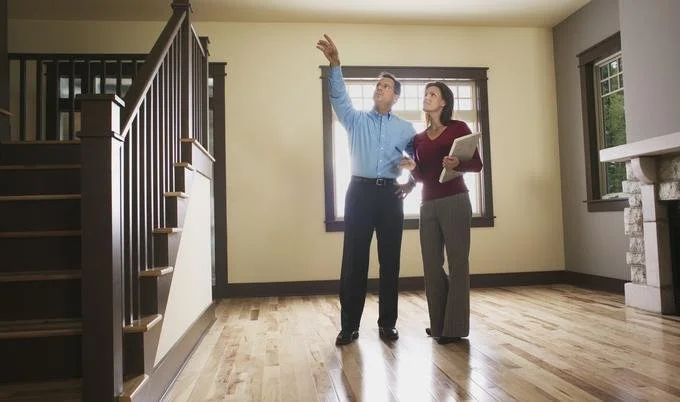
What Is a Final Walkthrough in Real Estate?
A final walkthrough is typically done 24–72 hours before closing, once the seller has moved out or is nearly finished moving.
It’s your opportunity to:
Confirm the condition of the property
Verify repairs were completed, if applicable
Ensure included items remain in the home
Check that there has been no new damage
Confirm the home is vacant and reasonably clean (if applicable)
This is not a second home inspection.
It’s a confirmation step — nothing more, nothing less.
Why the Final Walkthrough Matters So Much
Most final walkthroughs go smoothly.
No surprises. No issues.
But when something is wrong, the timing matters.
Once a deal closes, resolving problems becomes far more difficult. Before closing, there are still options and leverage. After closing, those options narrow quickly.
The final walkthrough protects you from:
Unexpected damage caused during move-out
Missing appliances or fixtures
Incomplete repair work
Left-behind belongings becoming your responsibility
It’s about clarity — not confrontation.
What Buyers Should Look for During a Final Walkthrough
1. Overall Condition of the Home
The property should be in substantially the same condition as when you last viewed it.
Watch for:
New scratches or dents in floors and walls
Broken doors, trim, or fixtures
Damage that wasn’t present before
Normal wear is expected. New damage is not.
2. Repairs Agreed to After the Inspection
If the seller agreed to complete repairs:
Confirm the work has been done (if applicable)
Ensure systems function as expected
Review receipts if they were part of the agreement
This isn’t about perfection — it’s about completion.
3. Included Fixtures and Appliances
Anything written into the agreement should still be in place:
Appliances
Light fixtures
Window coverings
Garage door openers
Remotes, keys, and fobs
If it was included in the purchase, it should be there.
4. Basic Systems Are Functioning
You don’t need to test everything — just confirm the basics:
Lights turn on
Water runs
Toilets flush
Appliances power on
Heating or cooling responds
This helps confirm nothing was disconnected or damaged during the move.
5. The Home Is Vacant and Broom-Clean
Unless otherwise agreed:
The home should be empty
Garbage and personal belongings should be removed
Anything left behind becomes your responsibility after closing.
What Happens If an Issue Comes Up?
If something isn’t right, the timing of the walkthrough allows for solutions.
Depending on the situation, this may include:
Addressing the issue before closing
Arranging a financial holdback
Adjusting terms if necessary
The key is identifying concerns before possession takes place.
Using a Final Walkthrough Checklist
Many buyers find it helpful to bring a simple checklist to the walkthrough — something that keeps the process calm and focused without turning it into a long inspection.
A checklist helps ensure:
Nothing obvious is missed
Repairs are verified
Included items are accounted for
The walkthrough stays efficient
This is especially useful when emotions are high and closing day is close.
Final Thoughts
The final walkthrough is not about being cautious or distrustful.
It’s about peace of mind.
When you leave the home after that last visit, you should feel confident — knowing that what you’re receiving matches what you agreed to buy, and that you’re ready to take possession without loose ends.